Pendant Kitchen Island Lighting Fails When You Ignore Beam Angle and Counter Height
Hang pendant kitchen island lighting at the wrong height or choose the wrong beam angle, and a polished countertop becomes a glare trap that ruins knife work and forces an expensive rewire after drywall closes. First-time homeowners often choose fixtures for their shades, then discover that concentrated hotspots magnify every micro-scratch on quartz while leaving adjacent prep zones too dim to chop vegetables safely. Measurable photometric planning prevents that failure. Measure your clearance, select your beam spread, calculate your spacing, verify your lumen output, separate your downlights, and confirm your electrical ratings before buying a single fixture. See also: interior lighting package scope.
Contents
- How high should pendant lights hang above a standard 36-inch kitchen island?
- What beam angle prevents glare on polished kitchen countertops?
- How many pendants fit over a kitchen island without crowding the layout?
- How many lumens does each kitchen island pendant need for knife work?
- How do recessed downlights interfere with pendant kitchen island lighting?
- Which electrical and code requirements apply to island pendants near sinks?
Key takeaways
- For a standard 36-inch kitchen island, pendant bottoms should hang 30 to 36 inches above the countertop.
- A beam angle between 40 and 60 degrees delivers even task lighting across a kitchen island without creating harsh hotspots on polished stone or quartz.
- Count your pendants by dividing the island length by the fixture diameter plus a consistent gap.
- Each pendant over a kitchen island should deliver 500 to 800 lumens at the source to achieve 30 to 50 footcandles at the counter plane.
- Recessed downlights positioned directly above or immediately beside kitchen island pendants create overlapping light pools that cause glare and wash out the intended beam pattern.
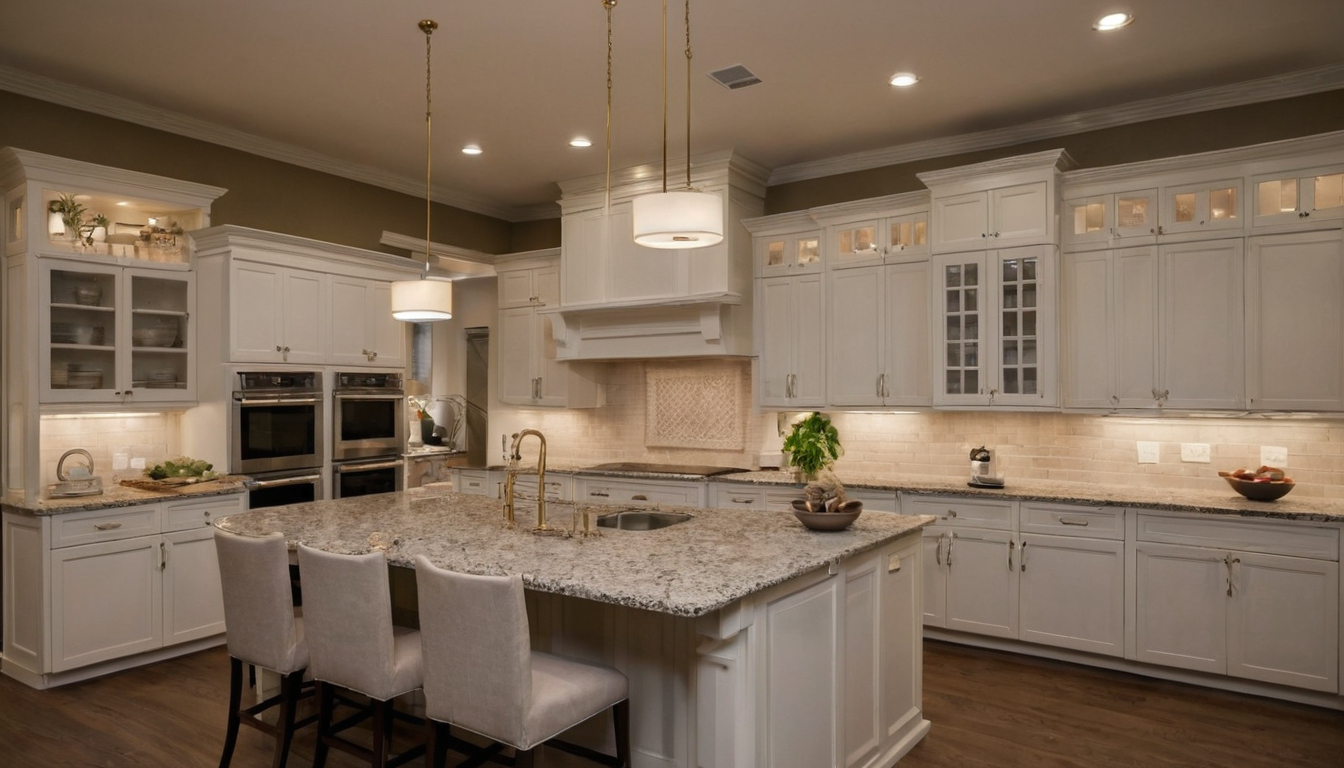
Pendant Kitchen Island Lighting Fails When You Ignore Beam Angle and Counter Height.
How high should pendant lights hang above a standard 36-inch kitchen island?
For a standard 36-inch kitchen island, pendant bottoms should hang 30 to 36 inches above the countertop. This clearance preserves sightlines across the room while keeping the light source low enough to deliver usable task illumination. Adjustments are required for ceilings higher than eight feet or oversized shades.
The wrong mounting height over polished quartz or marble creates two expensive problems. Hang fixtures too high and the light scatters before reaching the cutting board, leaving prep zones dim. Drop them too low and concentrated hotspots magnify every micro-scratch on the surface. The Natural Stone Institute warns that scouring powders or creams scratch natural stone because those products contain abrasives. Harsh light pools from a poorly placed pendant expose that abrasive damage instantly, turning a new countertop into a maintenance headache you notice every time you chop vegetables.
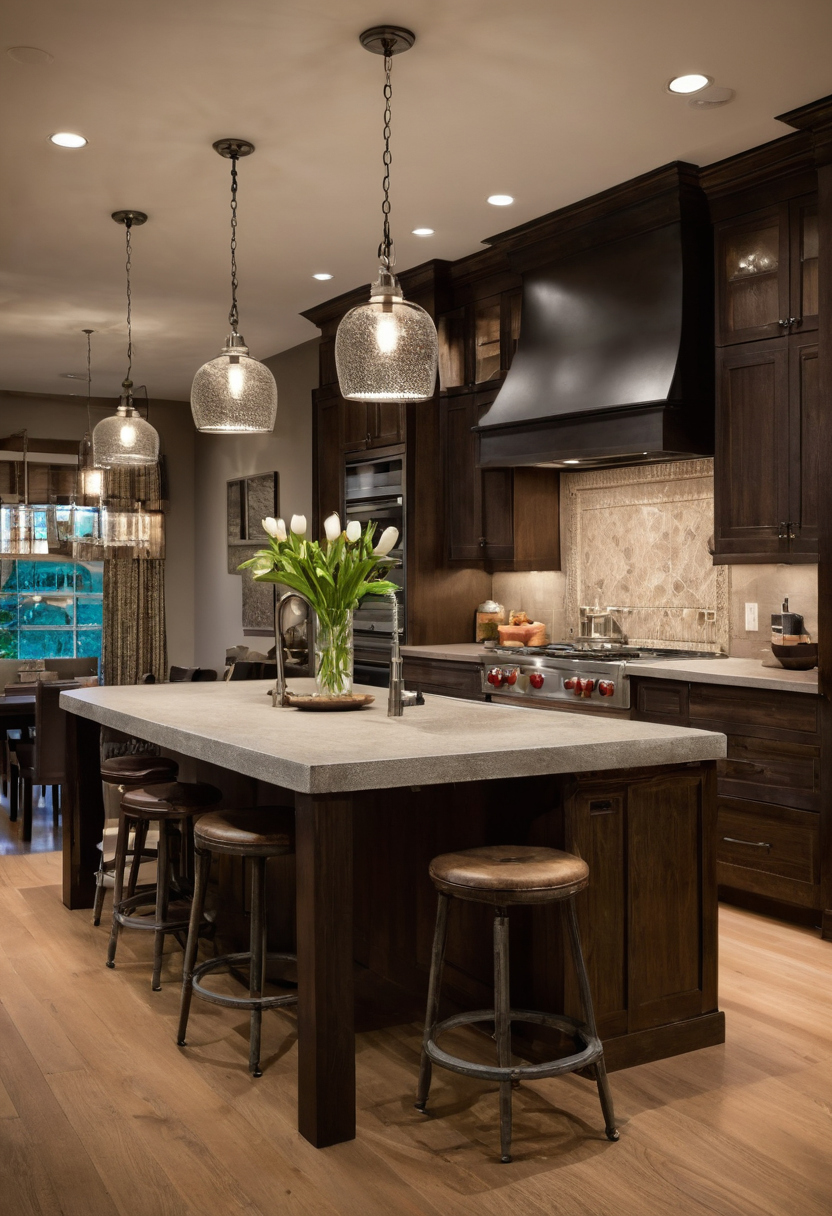
How high should pendant lights hang above a standard 36-inch kitchen island.
Run through this checklist before drilling the junction box:
Setting the correct height solves the vertical problem, but the light still hits the counter at a specific angle. Beam spread determines whether that light helps you prep dinner or blinds you the moment you look down.
What beam angle prevents glare on polished kitchen countertops?
A beam angle between 40 and 60 degrees delivers even task lighting across a kitchen island without creating harsh hotspots on polished stone or quartz. Narrower beams under 30 degrees concentrate intensity into blinding pools, while wider floods over 90 degrees spill light onto cabinet faces instead of the prep surface.
Beam angle defines the cone where light output drops to half its peak center-beam candlepower. A pendant hanging 32 inches above a standard 36-inch counter with a 25-degree spot beam produces a light pool roughly 14 inches wide. That tight circle makes your eyes adjust constantly between bright and dark zones during knife work. Switch the same fixture to a 50-degree beam and the pool expands to about 30 inches, covering a full cutting board and surrounding workspace evenly.
Delivered footcandles at the counter plane determine whether you can safely chop vegetables or read a recipe. Kitchen prep zones need 30 to 50 footcandles for comfortable task visibility. A narrow beam might hit 80 footcandles directly underneath while leaving adjacent areas at 10 footcandles. A 40-to-60-degree spread distributes those lumens across the entire work surface, keeping illuminance within that functional range without blinding anyone leaning over the island.
Polished countertops amplify this problem because glossy surfaces act like mirrors. Direct, concentrated light bounces off quartz or honed marble straight into your line of sight. Proper maintenance matters here too: the Natural Stone Institute recommends cleaning natural stone surfaces with neutral cleaners, stone soap, or mild liquid dishwashing detergent and warm water. Harsh chemical residues left by abrasive products create micro-texture changes that scatter light unpredictably, making glare worse under intense pendant beams.
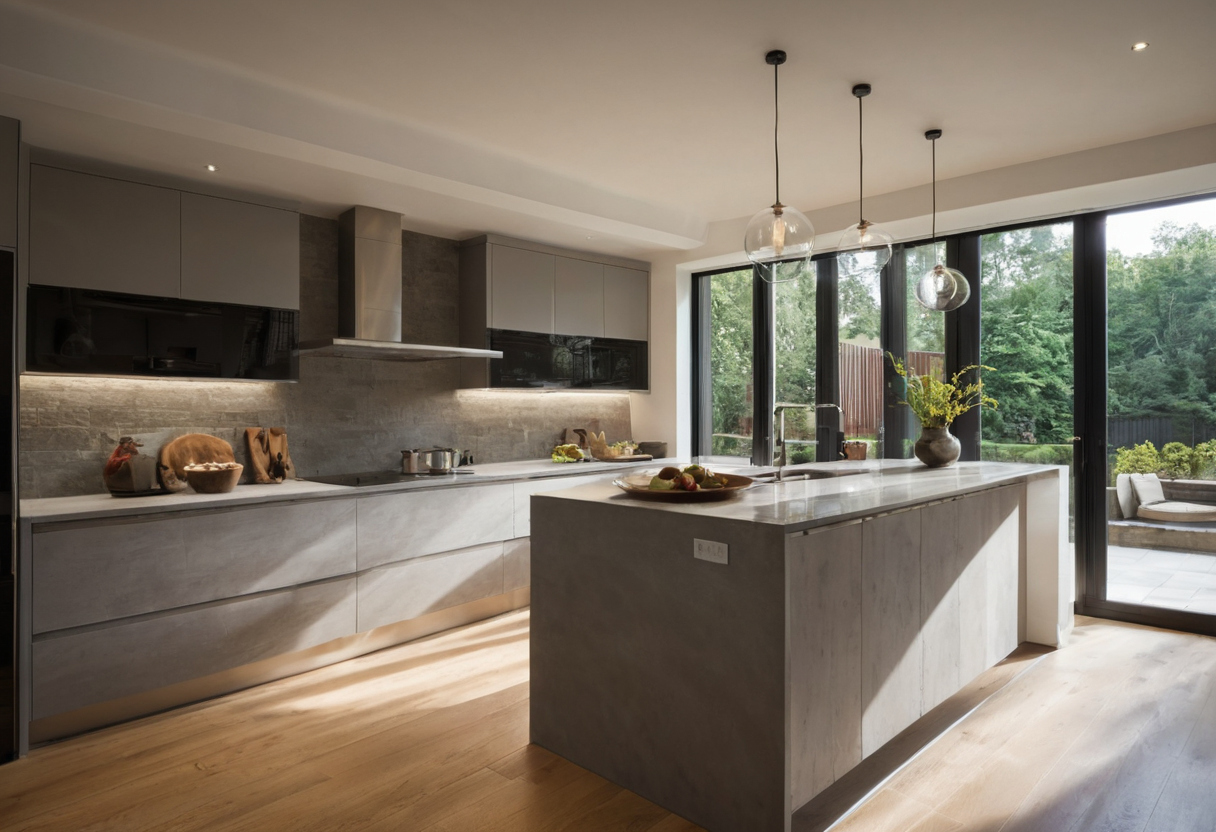
What beam angle prevents glare on polished kitchen countertops.
Choose pendant kitchen island lighting by checking the manufacturer photometric data before purchasing. Look for the beam angle specification in the product sheet or IES file rather than judging the fixture solely by shade shape. An open-bottom metal shade paired with an A19 bulb behaves completely differently from a directional LED module behind a frosted diffuser. Measure the distance from your ceiling junction box to the counter, pick a fixture rated for a 40-to-60-degree spread at that height, and verify the lumen output reaches your target footcandles.
The right beam spread solves the glare problem, but a single well-chosen pendant rarely covers a six-foot island alone. To determine how many pendants fit over a kitchen island without crowding the layout, match fixture diameter to available counter length.
How many pendants fit over a kitchen island without crowding the layout?
Count your pendants by dividing the island length by the fixture diameter plus a consistent gap. For most islands, two larger pendants or three smaller ones provide balanced coverage. Keep the outermost fixtures within the island edges to avoid casting shadows on walkways.
Spacing pendant kitchen island lighting takes a tape measure and a simple formula before you buy a single fixture. Use this decision checklist to set your layout this weekend:
A 72-inch island typically accommodates two 12-inch pendants spaced 24 inches apart on center, leaving a 24-inch inset from each edge. A longer 96-inch island handles three 10-inch pendants evenly distributed. Always confirm these numbers against your specific ceiling junction box locations. Moving a junction box after drywall closes turns a quick weekend swap into an expensive electrician visit.
If your layout calls for professional photometric planning beyond a straightforward DIY install, review what an interior lighting package scope covers before committing to a fixture order.
Proportion dictates the switch. Islands with a length-to-width ratio exceeding 4:1 often look visually choppy under separate round shades. A linear bar follows that elongated geometry and keeps the sightline clean across the room.
Junction box weight ratings determine whether a linear suspension can hang safely. Standard residential ceiling boxes support roughly 50 pounds when attached directly to structural framing. Linear fixtures built from solid brass or thick glass routinely approach that limit. Verify the box rating stamped inside the canopy. If the linear suspension exceeds the existing box capacity, install a brace-supported fan-rated box anchored between two joists before hanging the fixture. Skipping this step risks pulling the hardware straight through the drywall.
Once you’ve set the spacing or chosen a linear suspension, the next measurement determines whether your knife work happens in adequate light or frustrating shadow: how many lumens does each kitchen island pendant need for safe food prep?
How many lumens does each kitchen island pendant need for knife work?
Each pendant over a kitchen island should deliver 500 to 800 lumens at the source to achieve 30 to 50 footcandles at the counter plane. Actual delivered light depends on shade opacity, bulb color temperature, and the distance between the LED and the cutting board. Always verify manufacturer lumen output rather than relying on wattage equivalents.
The Illuminating Engineering Society recommends 30 to 50 footcandles for detailed kitchen prep tasks like chopping vegetables or reading recipe text. A single bare A19 LED bulb rated at 800 lumens suspended 30 inches above a standard 36-inch counter typically delivers roughly 35 footcandles directly beneath the fixture. Moving the same bulb six inches higher drops that number by nearly a third because light intensity follows the inverse square law: doubling the distance cuts delivered illumination to one quarter. Measure from the bottom of your shade to the countertop before buying bulbs to confirm your hanging height supports the target range.
Pendant shades redirect raw lumen output in ways spec sheets rarely highlight. A solid brass or painted steel cone blocks upward spill entirely, forcing all available photons toward the island surface. That concentrated delivery helps you hit 50 footcandles with fewer total lumens. Frosted glass or linen drum shades scatter light sideways and upward, softening shadows but sacrificing direct task illumination. If you choose an opaque metal shade, a 500-lumen integrated LED module often provides enough downward throw for prep work. Translucent enclosures usually require stepping up to 800 lumens per fixture to maintain the same brightness where your knife meets the board.
Bulb form factors dictate how much light fits inside your chosen pendant housing. Standard A19 LEDs at 2700K to 3000K produce 800 to 1100 lumens while drawing 9 to 13 watts. Compact G9 halogen capsules top out near 400 lumens and run hot, making them poor candidates for primary task lighting over a prep zone. Integrated LED modules bypass socket limits entirely, packing 600 to 1000 lumens into low-profile discs that sit flush against the canopy. Check whether your preferred dimmer switch lists the specific LED driver as compatible before closing the junction box; mismatched dimmers cause flicker that ruins visual acuity during fine cutting tasks. For broader context on balancing these numbers across the entire room, review our guide to whole-room footcandle layout calculations.
Once you set the correct lumen output per fixture, another problem often appears overhead. Recessed cans mounted directly above the island compete with your new pendants, creating harsh overlapping shadows that defeat the careful photometric planning you just finished.
How do recessed downlights interfere with pendant kitchen island lighting?
Recessed downlights positioned directly above or immediately beside kitchen island pendants create overlapping light pools that cause glare and wash out the intended beam pattern. To prevent interference, offset downlights by at least 24 inches from the pendant centerline or dim them independently on separate circuits.
Overlapping beam cones double the illuminance on a polished countertop exactly where you need controlled task light. A recessed downlight delivering 50 footcandles to the counter plane combines with a pendant delivering another 50 footcandles in the same spot. The resulting 100-footcandle pool produces harsh reflections on quartz or granite and ruins contrast for knife work. Move the recessed trim outside the pendant beam spread so each fixture lights a distinct surface zone.
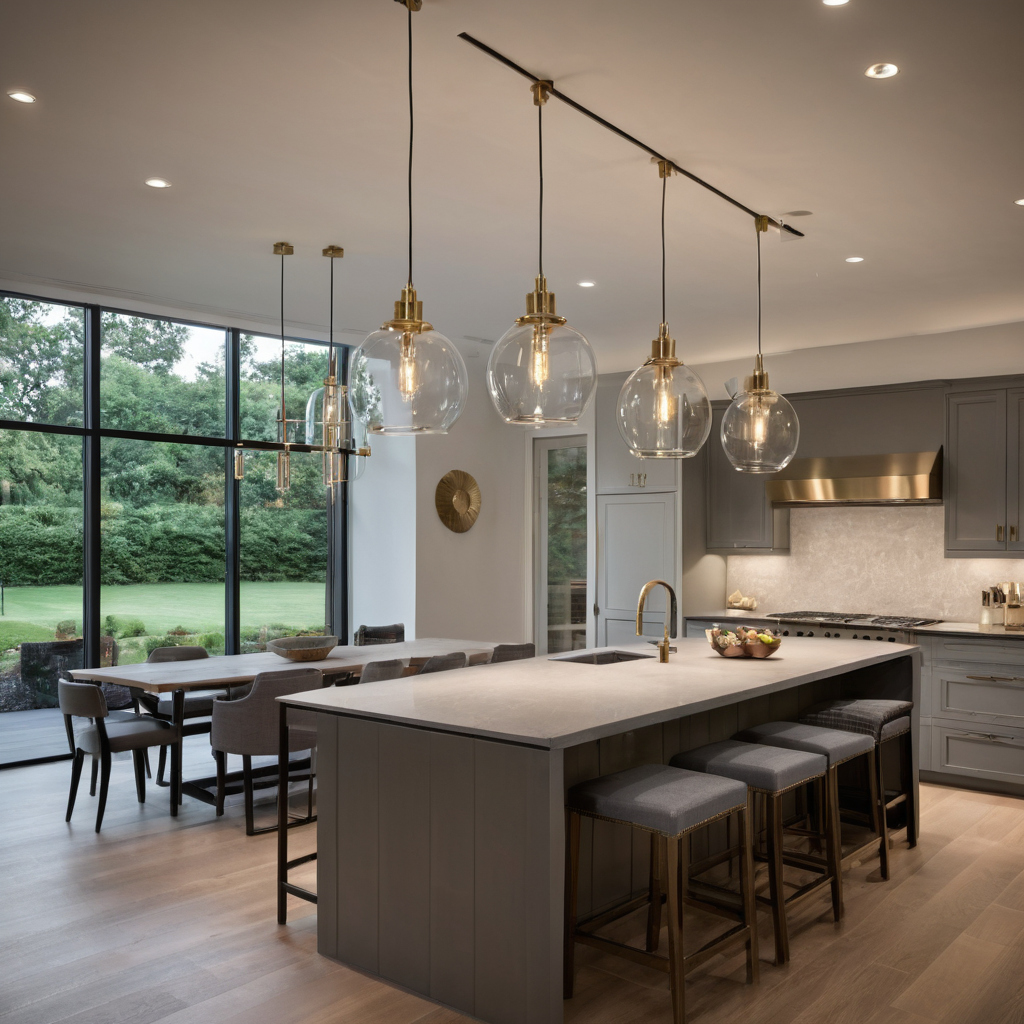
How do recessed downlights interfere with pendant kitchen island lighting.
Horizontal offset distance determines whether the two sources cooperate or collide. Measure 24 to 30 inches from the pendant centerline to the nearest recessed downlight trim. This spacing keeps the outer edges of both beams from stacking on the prep surface. Islands narrower than 36 inches often lack ceiling space for this offset, making a single pendant layer without recessed accents the cleaner choice.
Dimmer compatibility solves the problem when ceiling framing blocks a 24-inch offset. Wire the recessed downlights and the pendants to separate switches or separate channels on a multi-zone dimmer. Lowering the recessed fixtures during food preparation removes the competing light source while keeping the pendants at full output. Verify that both LED drivers share the same dimming protocol, such as forward phase or 0-10V, before connecting them to one control. Mixing incompatible dimming types causes flicker and shortens driver life.
LED efficiency makes running both layers practical without overheating a small kitchen. ENERGY STAR states that qualified LED lighting uses at least 75 percent less energy and lasts up to 25 times longer than incandescent lighting, which means operating dedicated pendant and downlight circuits adds minimal load to your panel.
Separating those circuits near water introduces specific electrical requirements. Which electrical and code requirements apply to island pendants near sinks?
Which electrical and code requirements apply to island pendants near sinks?
Pendants installed over kitchen islands containing prep sinks must comply with NEC Article 410 damp-location listings if they fall within the splash zone. Junction boxes must support the fixture static weight plus dynamic sway. First-time homeowners should verify box ratings before purchasing heavy brass or glass pendants.
NEC Article 410 defines a damp location as an area protected from direct weather but still subject to moisture condensation or occasional water exposure. A prep sink on a kitchen island creates this condition directly below and around the faucet spray radius. Pendants hanging inside that zone require a damp-location listing printed on the fixture specification sheet. Dry-listed shades paired with exposed sockets near a running tap risk corrosion on the socket contacts over time. Measure the distance from the faucet spout to the planned pendant center line. If the fixture sits within three feet horizontally of the sink rim, specify a damp-rated housing.
For more on this topic, see other guides on this site.