Build a Lighting Layout From Footcandles, Beam Spread, and Surface Reflectance
Two fixtures can produce the same lumens yet require different spacing because their optics send light in different directions. Build a lighting layout in two passes: estimate delivered light at the task plane, then test beam distribution, glare, shadows, and dimming in the actual room before cutting ceiling holes.
What measurements does a residential lighting layout require?
A residential lighting layout requires room dimensions, mounting height, task-plane height, target illuminance, surface reflectance, and fixture photometrics. Lumens alone cannot show how much light reaches a counter, reading plane, mirror, or floor.
Footcandles measure light on a surface, while lumens measure fixture output
| Term | Meaning |
|---|---|
| Lumens | Luminous flux emitted by a source or complete luminaire. |
| Illuminance | Light arriving per unit area. |
| Footcandle | One lumen per square foot. |
| Lux | One lumen per square metre; 1 footcandle equals approximately 10.76 lux. |
| Candela | Luminous intensity in a specified direction. |
| Beam angle | Angle between points at 50 percent of peak intensity. |
| Field angle | Angle between points at 10 percent of peak intensity. |
| Coefficient of utilization | Fraction of luminaire lumens reaching the calculation plane. |
| Light-loss factor | Multiplier for expected output reductions under stated conditions. |
Confirm whether a product label reports lamp lumens or delivered luminaire lumens after the trim, lens, and optic. Energy performance is a separate comparison: ENERGY STAR reports that qualified LED lighting uses at least 75 percent less energy and lasts up to 25 times longer than incandescent lighting where qualified products apply.
The lighting layout must define its calculation plane before fixture quantity is estimated
- Record room length, width, ceiling height, and fixture mounting plane.
- Mark fixture aiming plus light, medium, or dark finishes.
- Choose the measurement plane: floor, actual countertop, desktop, page, or face position.
- Use real cabinet, desk, seating, and circulation dimensions.
Surface condition matters. The Natural Stone Institute warns that abrasive powders and creams can scratch natural stone, potentially changing the appearance of a measured finish. Where accessible clear floor space applies, the 2010 ADA Standards specify a 30-by-48-inch space for wheelchair positioning. Once the geometry and plane are fixed, choose footcandles for the task rather than the whole house.
Target footcandles should follow the room task, not a single whole-house number
Assign illuminance to each activity and measurement plane, then account for contrast, glare sensitivity, occupant needs, and light supplied by portable or undercabinet fixtures.
Which residential tasks need horizontal, vertical, or localized illuminance?
| Task | Working design range | Where to measure |
|---|---|---|
| Hallway circulation | 5 to 10 maintained footcandles | Horizontal at the finished floor |
| General room use | 10 to 20 maintained footcandles | Horizontal at the primary activity plane |
| Dining | 10 to 20 maintained footcandles | Horizontal on the tabletop |
| Kitchen preparation | 30 to 50 maintained footcandles | Horizontal on the counter |
| Reading | 30 to 50 localized footcandles | On the page at the page angle |
| Mirror grooming | 20 to 50 vertical footcandles | Vertical at face position |
These ranges are practical starting points, not quoted legal requirements. Confirm current residential guidance and adjust for the occupants. For accessible dining and work surfaces, the 2010 ADA Standards specify heights of 28 to 34 inches where those provisions apply, so measure at the installed surface height.
Finish care can also affect repeat measurements. For natural stone, the Natural Stone Institute recommends neutral cleaner, stone soap, or mild liquid dishwashing detergent with warm water rather than an abrasive product.
A dimmable lighting layout can support several scenes without designing every scene to the same level
- Calculate for the demanding task: Supply enough light for preparation, reading, or grooming, then dim for relaxed use.
- Check the complete control system: Match the LED driver, dimmer type, load range, and manufacturer compatibility documentation.
- Separate color from quantity: Correlated color temperature describes apparent color, not footcandles. Dim-to-warm behavior must be explicitly specified.
With a target assigned to each task, room area and surface reflectance can produce a first fixture-count estimate.
How do footcandles, room area, and surface reflectance estimate fixture quantity?
Multiply target maintained footcandles by room area, then divide by delivered luminaire lumens, coefficient of utilization, and light-loss factor. This lumen method screens fixture quantity, but it does not establish final spacing.
The quick lumens-per-square-foot estimate is a screening tool, not a finished lighting layout
Simple estimate: N = (E × A) ÷ F. Lumen method: N = (E × A) ÷ (F × CU × LLF). N is fixture quantity, E is maintained footcandles, A is area in square feet, F is delivered luminaire lumens, CU is coefficient of utilization, and LLF is light-loss factor.
For a hypothetical 12-by-15-foot room targeting 30 footcandles with an 800-lumen luminaire, simple arithmetic gives 6.75, rounded to seven fixtures. A documented CU of 0.60 and a planning LLF of 0.90 produce 12.5, rounded to 13. Replace the assumed LLF with manufacturer lumen-maintenance information and the project maintenance plan.
Dark residential finishes usually require a lower assumed room reflectance
| Surface | Preliminary reflectance range |
|---|---|
| White or light ceiling | 70% to 90% |
| Light or medium wall | 30% to 70% |
| Dark wall | 10% to 30% |
| Pale floor | 30% to 50% |
| Dark floor | 5% to 20% |
These are preliminary design ranges, not universal material properties. Color, sheen, texture, cleanliness, and measurement method affect reflectance. Enter documented values and room geometry into the selected luminaire’s photometric data, then obtain CU for that exact distribution. Do not transfer CU between optics or trims.
Limitations
- Simple lumens-per-square-foot arithmetic effectively assumes every lumen reaches the plane.
- Lowering CU from 0.60 to 0.45 raises the example from 13 to 17 fixtures.
- Perceived brightness and horizontal illuminance are related but not interchangeable.
If repainting or refinishing is part of the work, the U.S. Environmental Protection Agency recommends increased ventilation while using products that emit volatile organic compounds. Once the finish assumptions are settled, photometric distribution must determine whether the estimated fixtures can be spaced evenly.
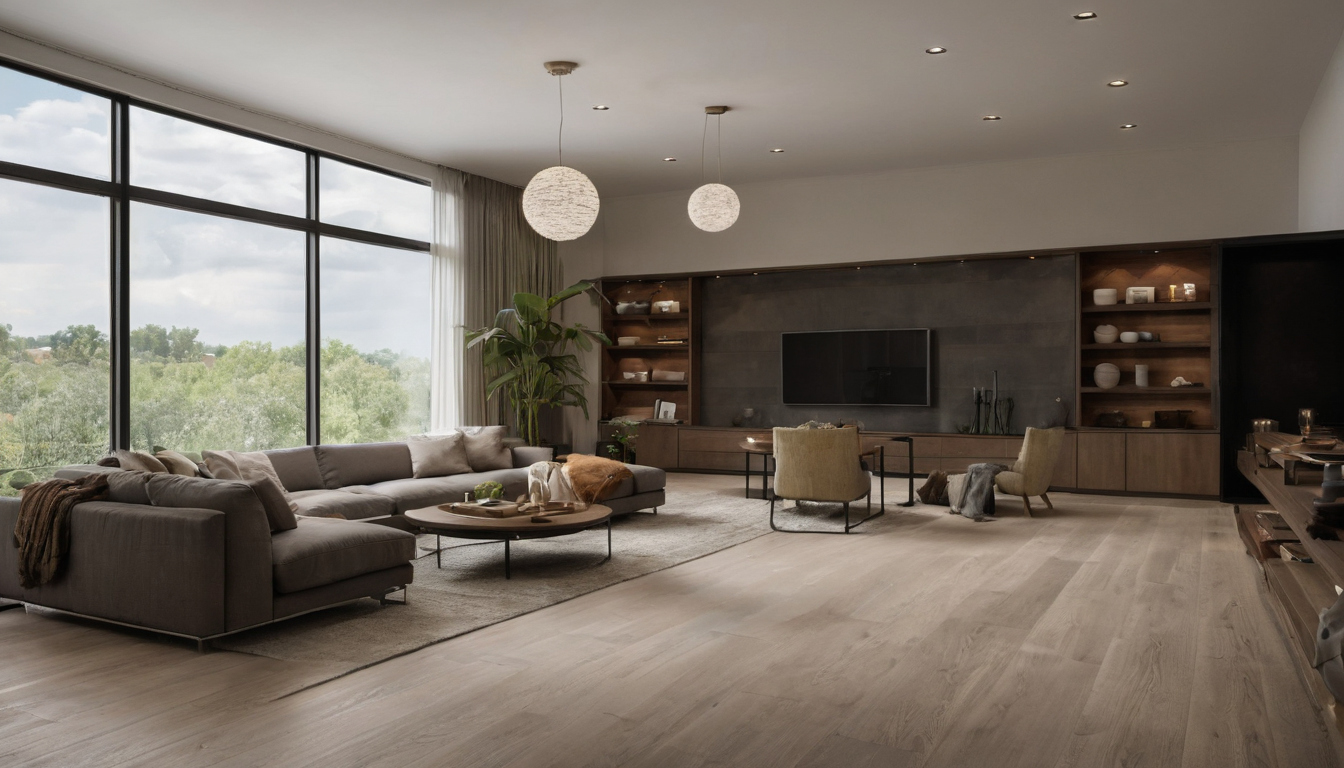
How do footcandles, room area, and surface reflectance estimate fixture quantity shown as a planning reference for layout, scale, and material decisions.
Beam spread and photometric intensity determine fixture spacing more reliably than ceiling-height rules
Beam spread estimates pool diameter, but spacing should follow photometric distribution and spacing criterion because equal-lumen fixtures can produce different center intensity, edge light, scallops, and glare.
How wide is a beam at the floor or work surface?
Calculate nominal beam diameter as diameter = 2 × mounting distance × tan(beam angle ÷ 2). Mounting distance runs from the light source to the calculation plane, not automatically to the floor.
| Example beam angle | Distance to plane | Nominal diameter |
|---|---|---|
| 30 degrees | 6 feet | 3.2 feet |
| 40 degrees | 6 feet | 4.4 feet |
| 60 degrees | 6 feet | 6.9 feet |
The values are rounded to one decimal place. A beam circle represents a nominal 50-percent intensity boundary, not uniform illumination.
Manufacturer IES files reveal distribution that a lumen label cannot show
The IES file must match the exact trim, optic, output package, color temperature, orientation, and accessories. Before drawing centers, check:
- Delivered lumens and input watts, not lamp output alone.
- Candela distribution and center-beam candlepower for center and edge intensity.
- Beam and field angles using the report’s stated definitions.
- Spacing criterion and report identifier for the tested distribution.
- Layout risks such as wall scallops, dark gaps, reflected glare, and downlights behind a person working at a counter.
Overlapping beam circles do not prove uniformity. The worked layout must expose every assumption from target footcandles through fixture centers.
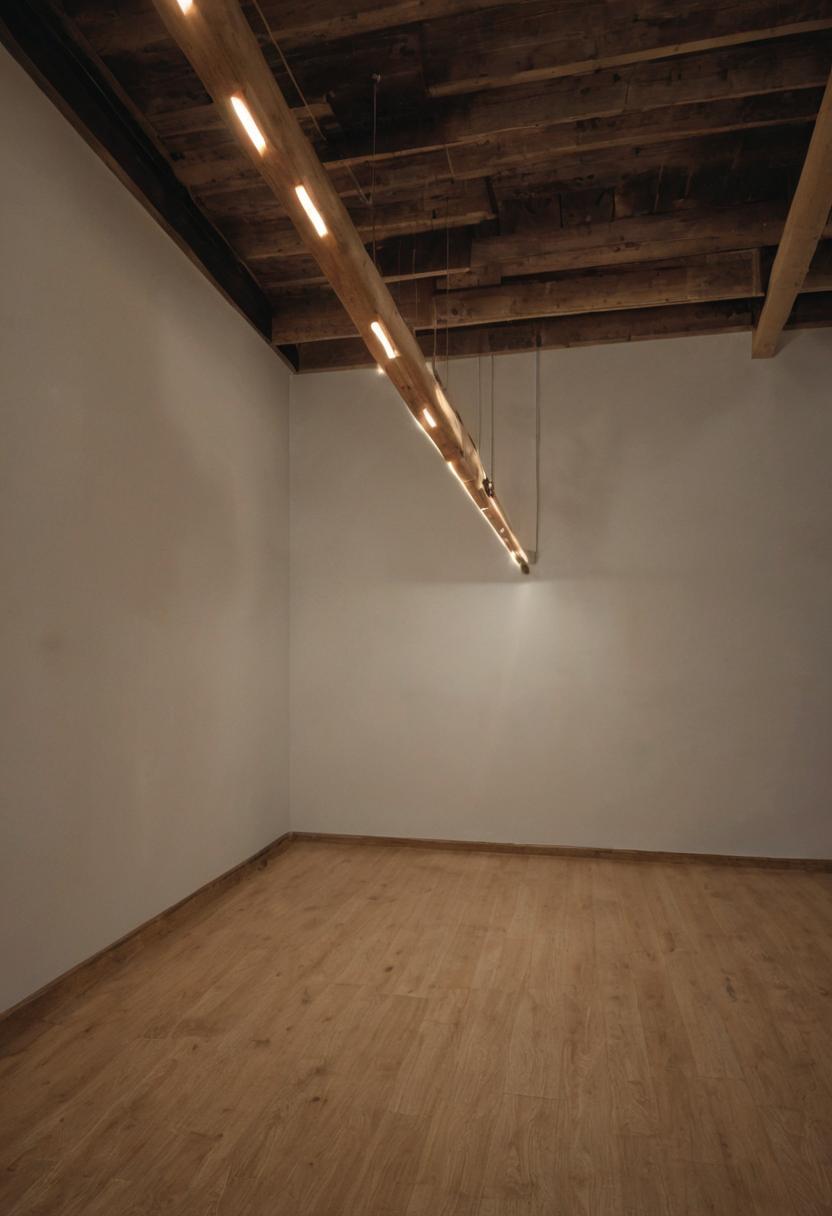
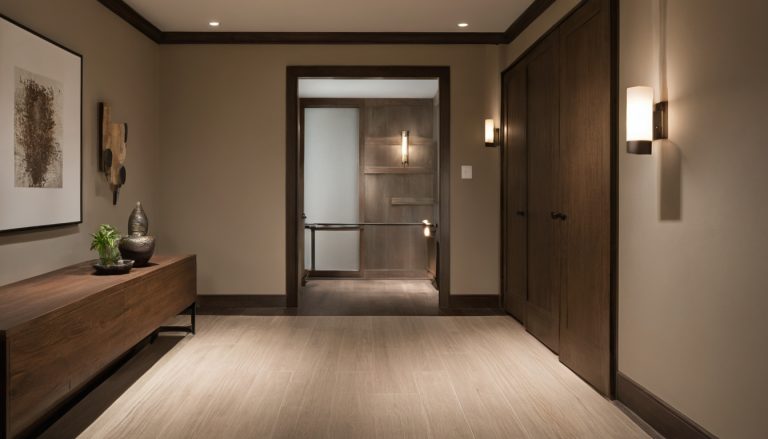
Beam spread and photometric intensity determine fixture spacing more reliably than ceiling-height rules shown with practical context cues.
A worked lighting layout should show every assumption from target footcandles to fixture centers
A useful lighting layout defines the room, task plane, finishes, and photometric data before calculating quantity. Fixture centers can then respond to cabinets, doors, furniture, and sightlines instead of following an arbitrary grid.
The first-pass calculation establishes quantity before the ceiling grid is drawn
This hypothetical kitchen measures 12 by 16 feet, with a 9-foot ceiling, 36-inch counters, perimeter cabinets, and an island. The selected target is 30 footcandles on a 30-inch calculation plane. Undercabinet lighting handles countertop tasks separately.
| Input | Value and basis |
|---|---|
| Room and finishes | 192 square feet; ceiling 80%, walls 50%, floor 20%, all preliminary assumptions |
| Hypothetical H-1 | 900 delivered lumens, 12 W, 3000K, 90 CRI, 60-degree beam, 1.1 spacing criterion |
| Photometric record | No model or test identifier; replace every H-1 value with data for the exact trim, optic, CCT, output, accessories, and IES file |
| Allowances | CU 0.60 and LLF 0.80, pending photometric confirmation |
For professional documentation, confirm whether the lighting package includes calculations and fixture schedules.
The initial requirement is 30 fc × 192 ft² = 5,760 lumens, or seven H-1 fixtures before room losses. The lumen method gives 5,760 ÷ (900 × 0.60 × 0.80) = 13.3, rounded up to 14. At a 6.5-foot mounting distance, the hypothetical 60-degree beam has a nominal diameter of about 7.5 feet.
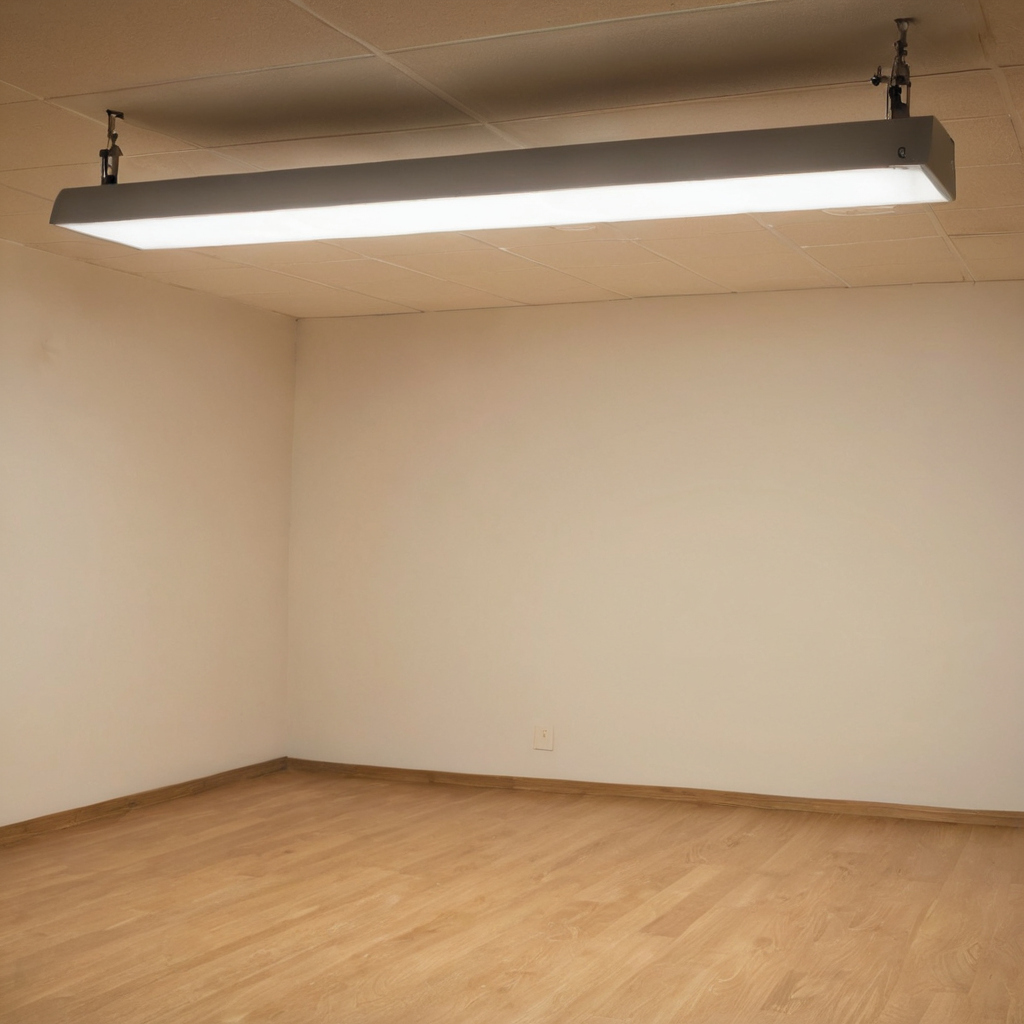
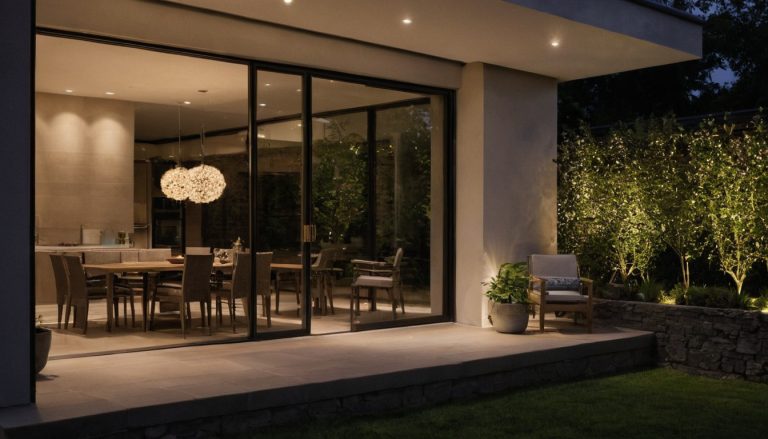
A worked lighting layout should show every assumption from target footcandles to fixture centers shown as an editorial planning reference.
The second-pass lighting layout moves fixtures to support tasks and architecture
An even two-by-seven grid becomes two offset rows of seven. One row moves toward cabinet faces to reduce worker-cast counter shadows; the other supports the island and circulation. Check centers against fan blades, tall doors, joists, ducts, wall distance, and artwork. The final checkpoint is to mock up the spacing before cutting fourteen holes.
Every calculated lighting layout needs an on-site mockup, meter check, and electrical review
A calculated lighting layout remains provisional until beam shape, glare, shadows, dimming, and illuminance are checked in the room. A safe mockup and repeatable measurements reveal problems before ceiling openings become permanent.
How should footcandles be measured in a finished residential room?
Use listed plug-in luminaires, a properly installed track system, or other code-compliant equipment. Never improvise exposed splices or temporary connections to fixed wiring.
- Exclude daylight with shades or measure daylight separately. Set the intended scene, CCT, aiming, and dimmer level, then let the source stabilize as its manufacturer directs.
- Mark a repeatable grid across the task area, including corners, fixture centerlines, likely dark spots, and shadow-sensitive positions.
- Place the sensor at the defined plane. Keep it level and upward-facing for horizontal readings, or use the required vertical orientation at a mirror.
- Use an illuminance meter with published accuracy and cosine-response specifications. A phone application can reveal broad differences but should not serve as final verification.
- Record grid point, plane height, scene, dimmer setting, meter, daylight condition, and reading. Repeat the same grid after every change.
Dimmer, driver, housing, and junction-box requirements must be checked before installation
The fixture schedule should identify the dimming protocol and manufacturer compatibility record for the selected LED driver and dimmer. Check load limits, low-end behavior, accessories, and restrictions on mixing driver types.
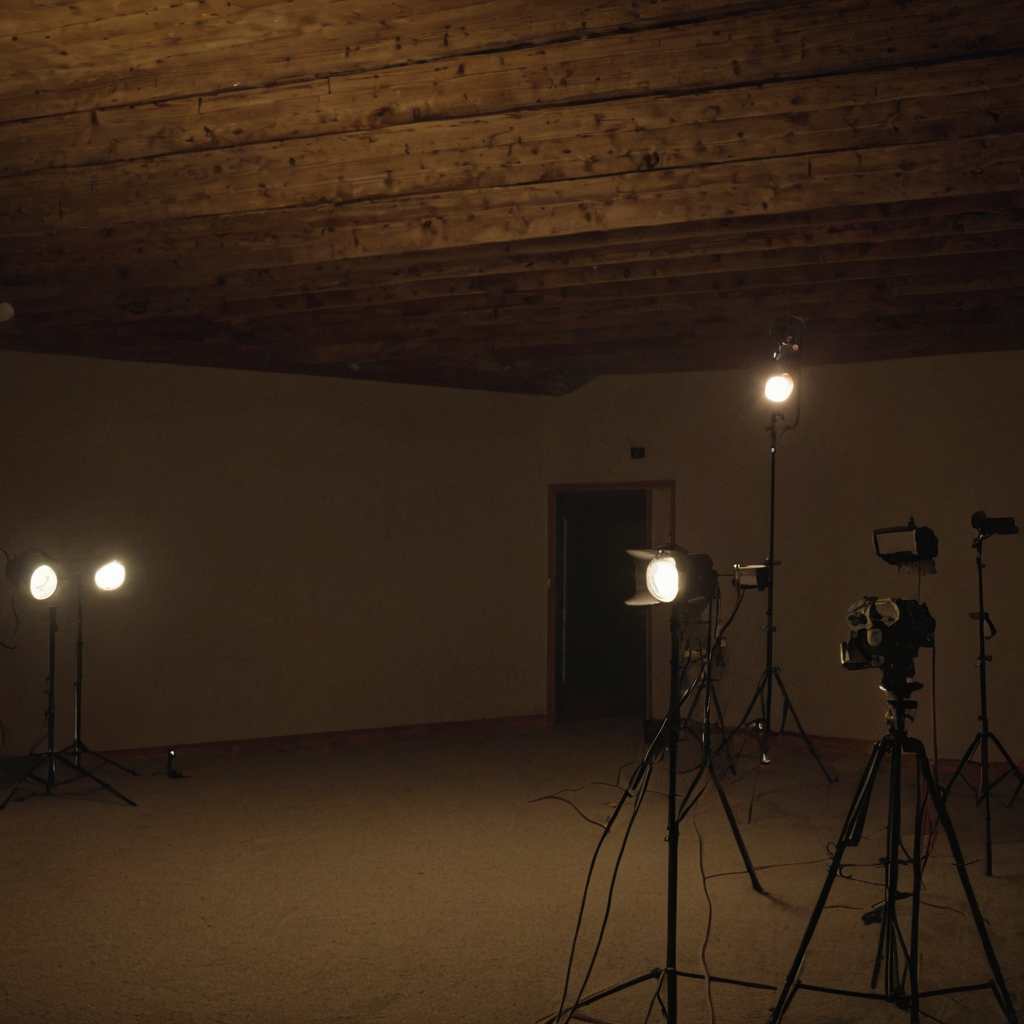
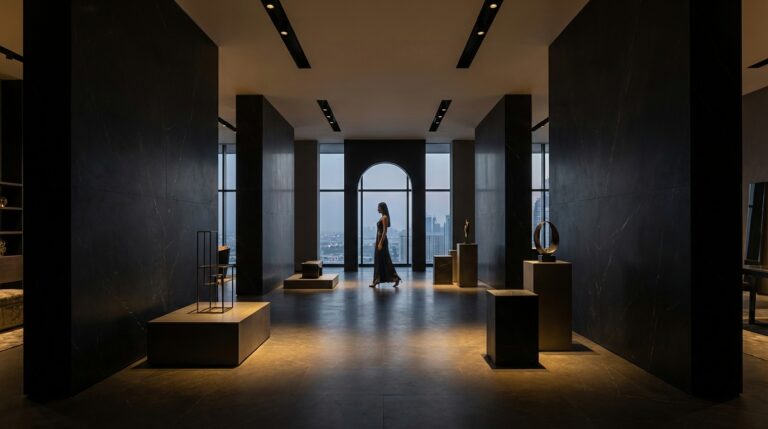
Every calculated lighting layout needs an on-site mockup, meter check, and electrical review shown with practical context cues.
For a Washington State example, WAC 296-46B-010 identifies the adopted National Electrical Code edition, while Chapter 296-46B adds state amendments. Confirm the current edition and city requirements. A licensed electrician should verify luminaire listing, junction-box capacity, grounding, conductor access, recessed-housing clearances, insulation-contact and airtight ratings, and damp or wet-location suitability.
Paints, varnishes, waxes, cleaning products, building materials, and furnishings are among the indoor VOC sources identified by the EPA, so ventilate appropriately if room finishing continues during testing. For rooms displaying sensitive collections, the National Park Service Museum Handbook provides conservative preservation guidance that may justify a separate exposure review.
Adjust one variable at a time: change optic or aiming for distribution, output or dimmer setting for level, and fixture count only when repeated measurements show a persistent shortfall.
Lighting layout questions
How many lux is one footcandle, and when should a residential lighting layout use each unit?
One footcandle is approximately 10.76 lux. Use the unit shown in the photometric report or project standard, but keep one unit throughout each calculation.
How do you calculate footcandles from lumens?
Dividing lumens by square feet gives an idealized screening value. A practical average must also account for delivered luminaire lumens, coefficient of utilization, and light-loss factor.
How bright is 50 footcandles on a kitchen counter compared with a floor?
The meter reading is the same, but the experience differs because viewing angle, reflectance, contrast, glare, and surrounding brightness change how the surface appears.